The first unit we did was inventor. Inventor is a software that allows you to create 3-D models. With inventor you can do many things such as create parts, assemblies, drawings and animations. Inventor allows the user to design things on the computer instead of making something physical so they can test various designs. For this introduction unit we only made parts. We used inventor to design six widgets. We also printed one of them on the 3-D printer. Below is the step by step process I did to design the widget I printed.
|
|
|
|
|
|
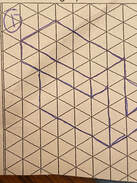
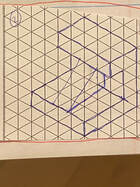
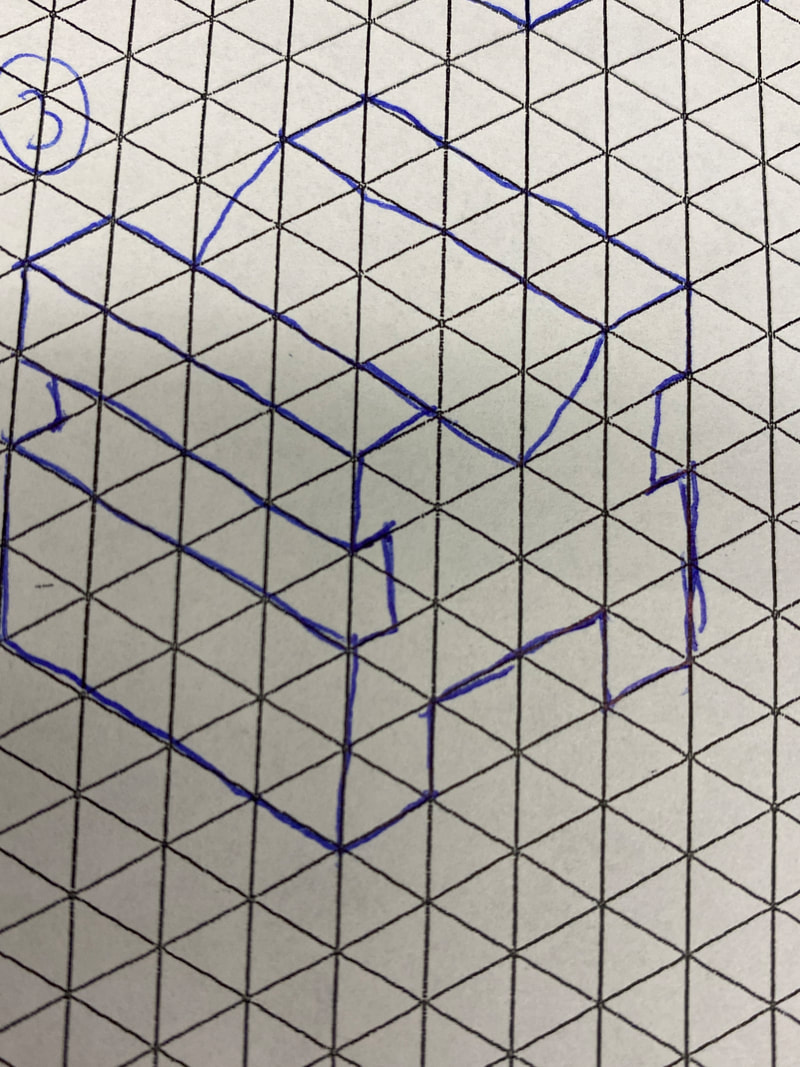
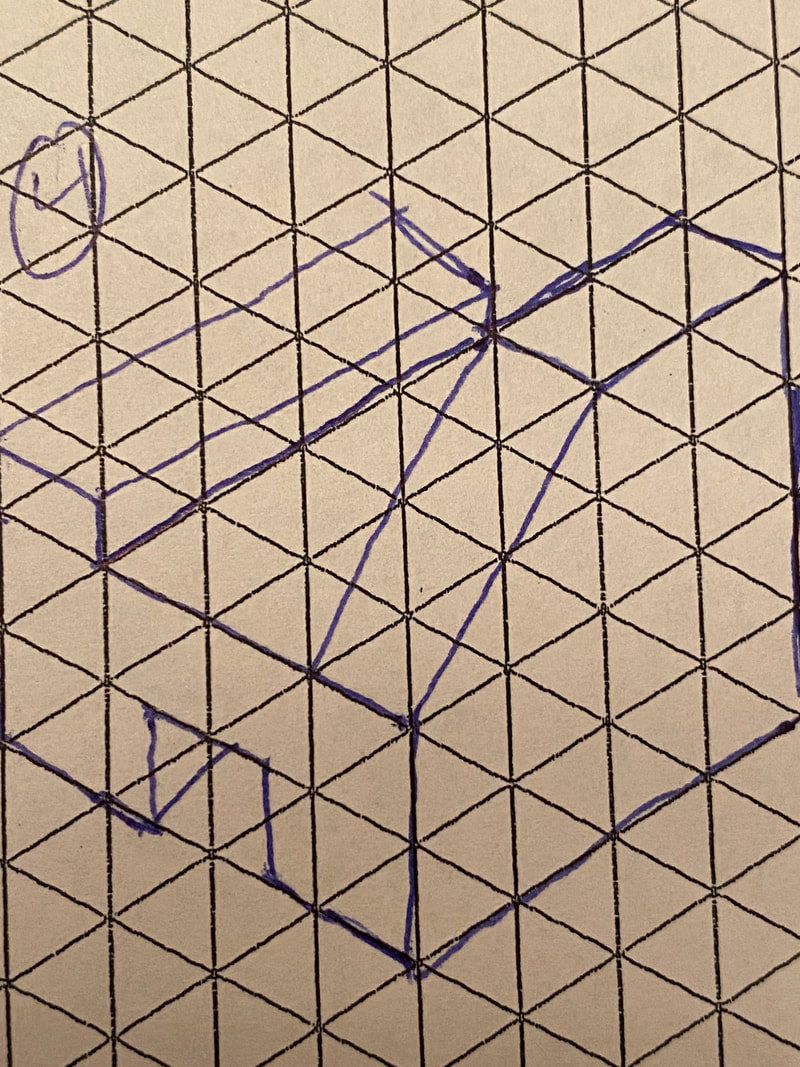
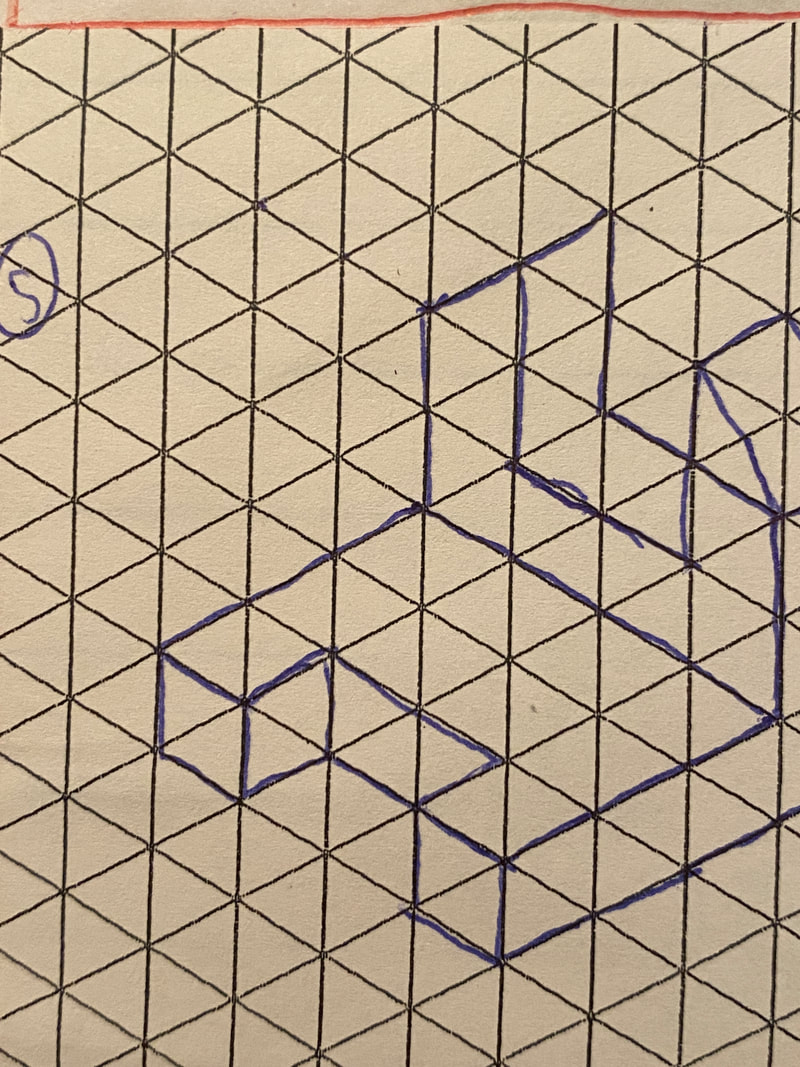
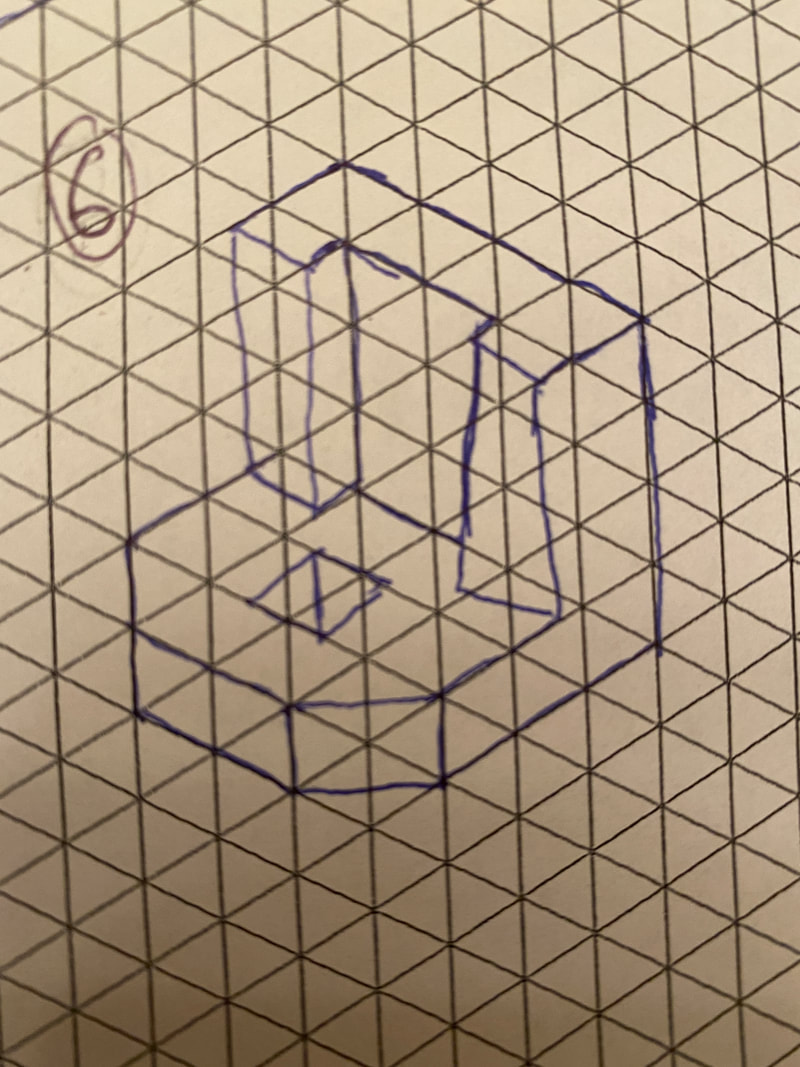
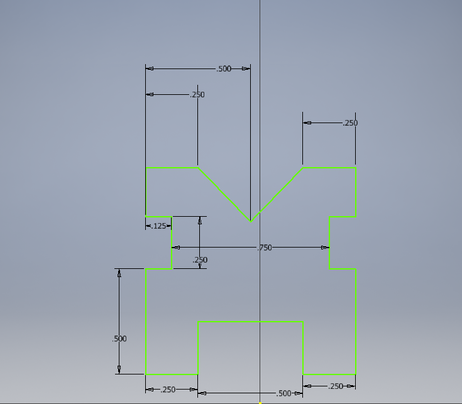
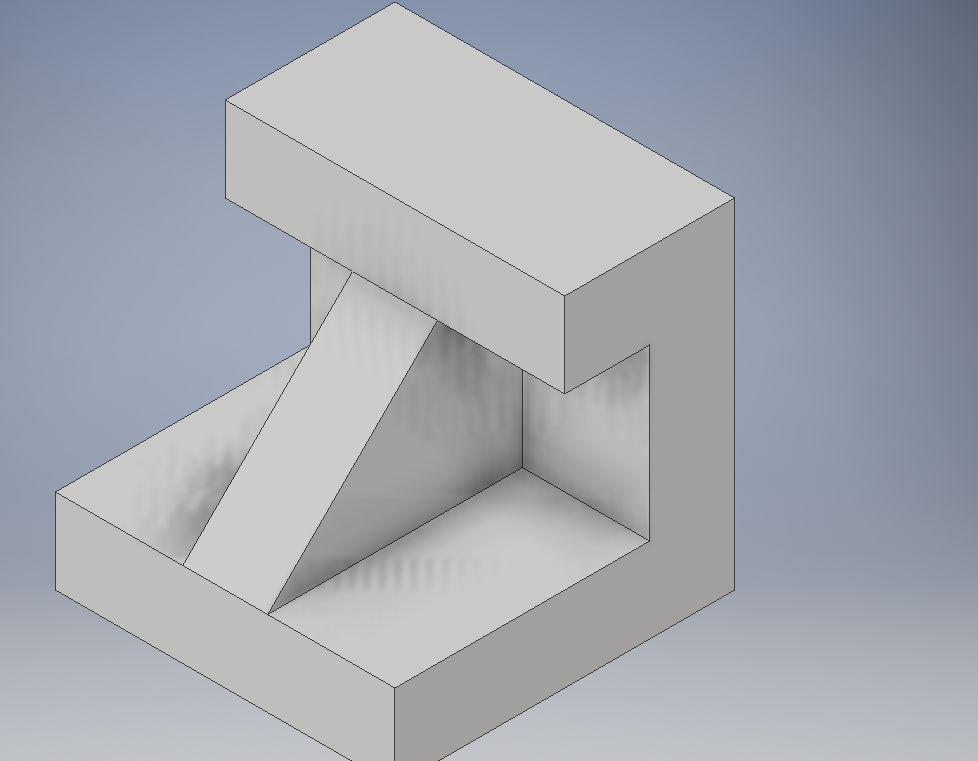
Before I started on Inventor I had to sketch all the widgets. These are my final sketches for each one. I went on to design each of these in inventor and print widget 3.
Step by Step Process- Widget 3
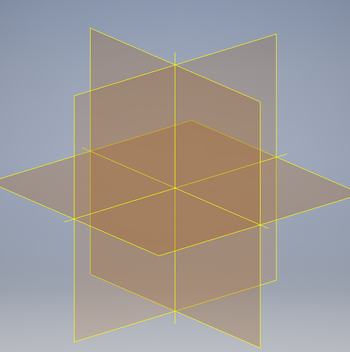
First I started a sketch on the XY plane.
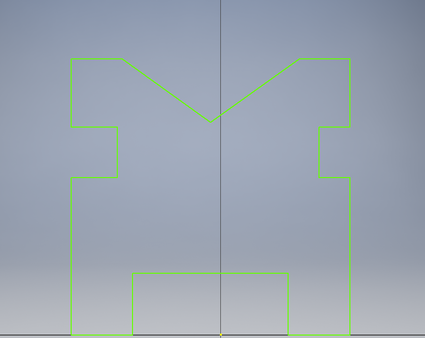
Next I drew a rough sketch of the object. To do this I used the line tool.
Then I used the dimension tool to make it the exact correct shape.
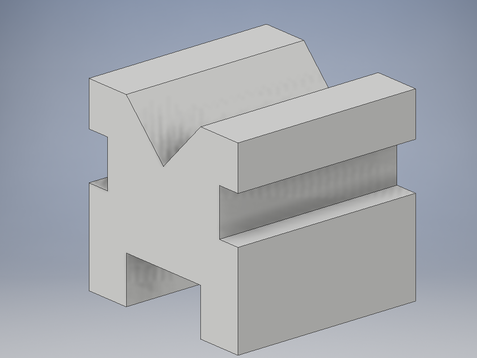
The final step for the inventor design was extruding the figure.
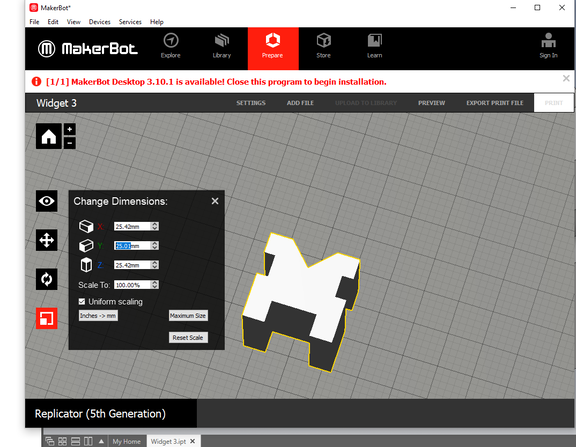
I then exported the inventor file to Maker Bot which is the software we use to 3-D print.
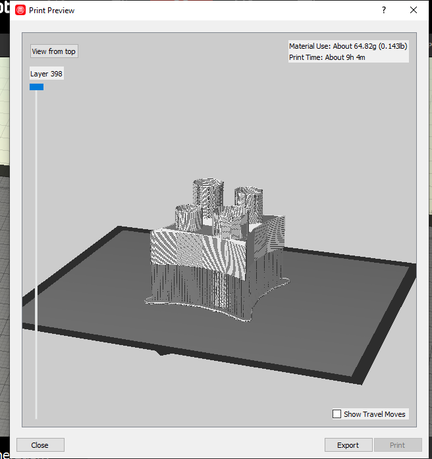
Before I printed I had to review the print preview. This shows the time it will take and the amount of filiment needed.
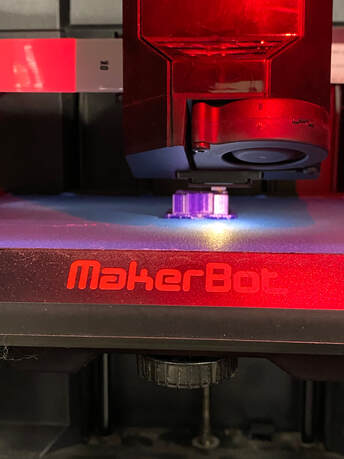
This is while the widget is printing.
|
|
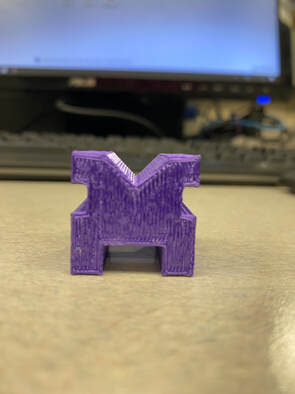
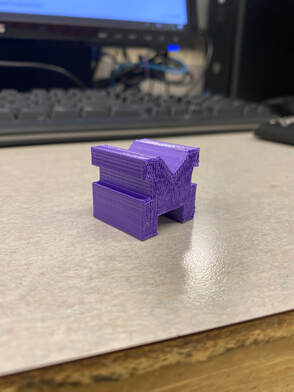
This is the finished print.

|
|
|
|

|
|
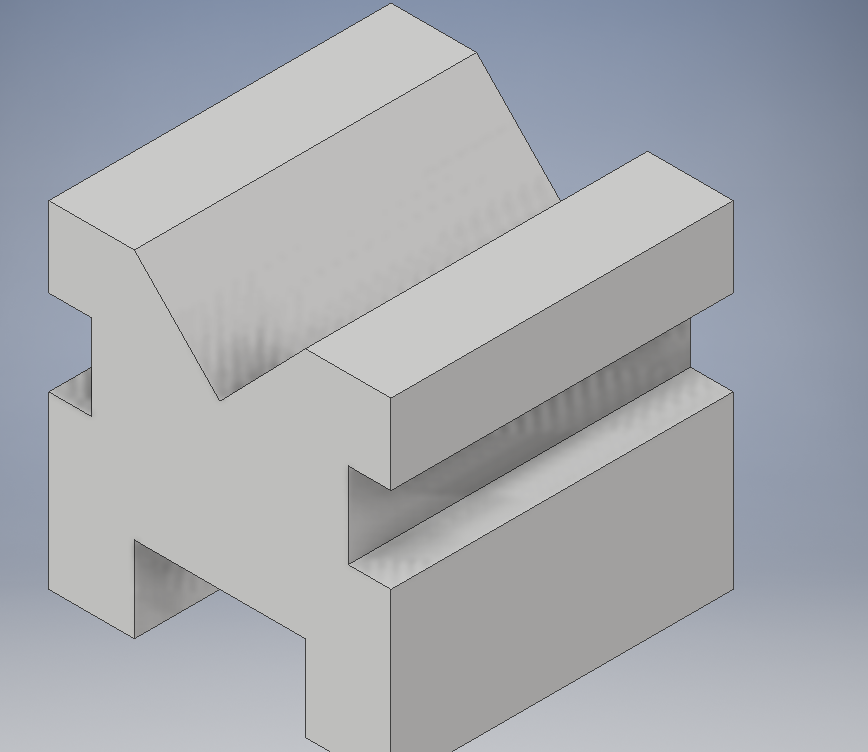
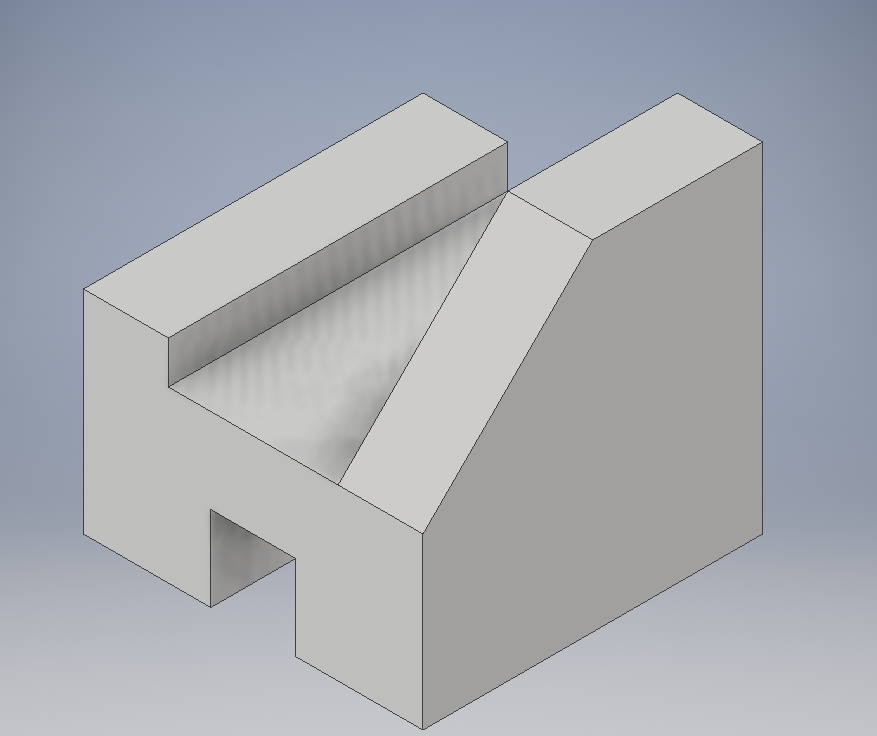
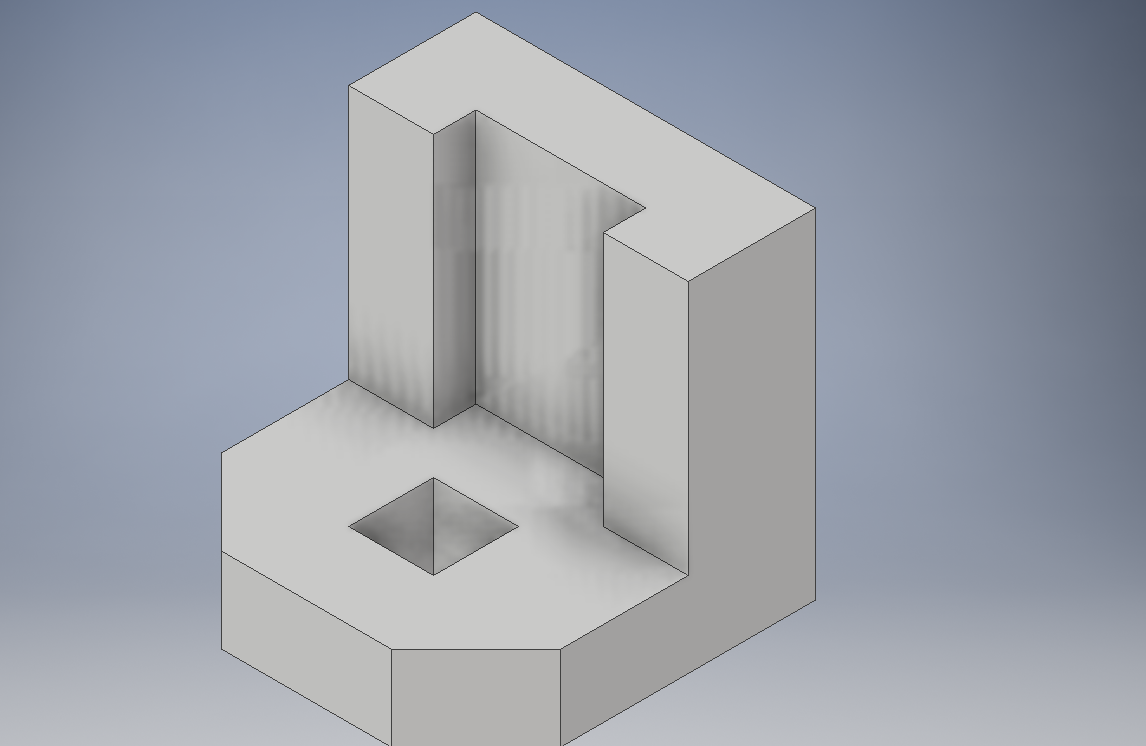
Widget 1 Widget 2 Widget 3 Widget 4 Widget 5 Widget 6
These are all the widgets I designed in inventor
In this introduction to inventor unit I learned some new things and also expanded skills I already had. Since I took a class last year that dealt with inventor, designing the widgets was mostly review of skills I have learned previously. Despite this it was still a good review for the inventor project later this semester. A new thing I learned was maker bot. It was interesting to learn how to set up the inventor file to 3-D print and to be able to print what I designed on the computer and get a physical object.
