Illustrator is a software that lets you design 2-D images. Illustrator has many features to use but in this unit we only did the basics. Illustrator files can be used with machines like the vinyl cutter and laser. We used both of those in this unit. We designed the file for the laser, but for the vinyl cutter Mrs. Proctor printed all our names from her file. Illustrator is a very useful tool for making 2-D designs.
Key Chain
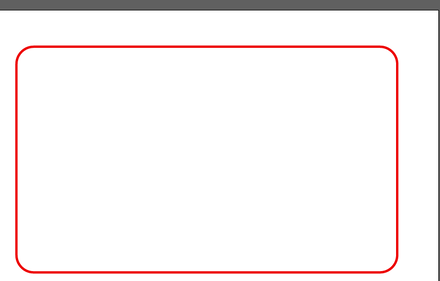
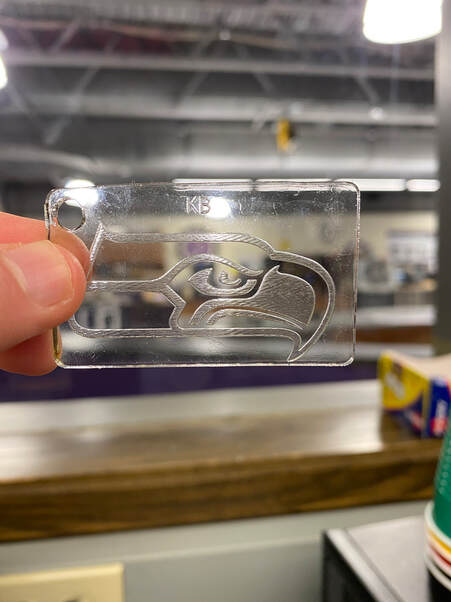
The first thing we did on Illustrator was design a key chain. Here are images of my key chain design. We used acrylic in the laser cutter to make a keychain.
|
|
|
|
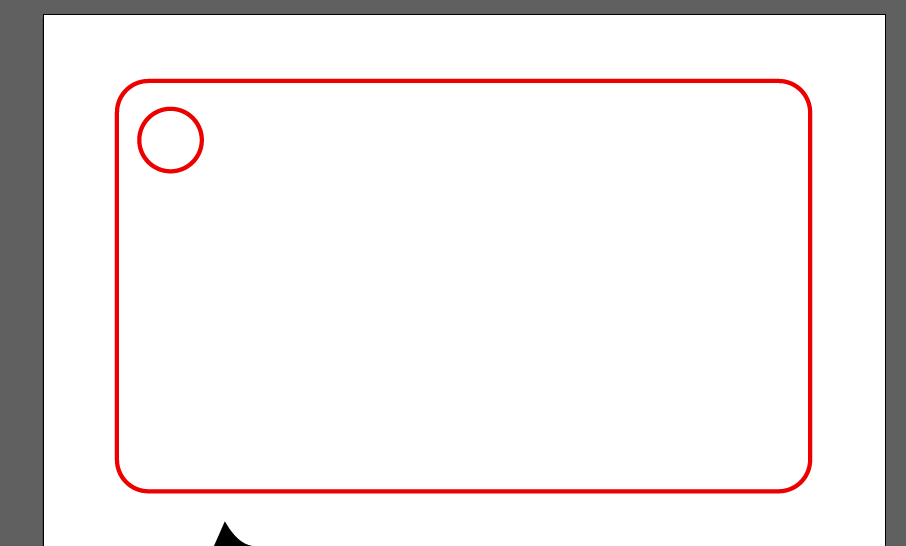
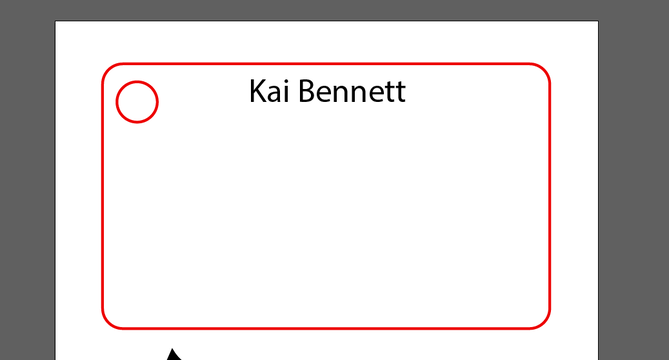
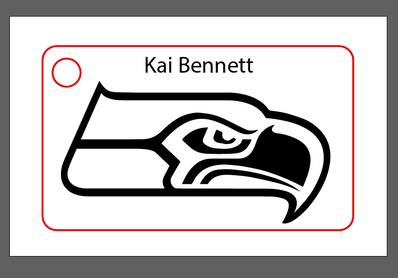
These images show the process I went through on illustrator adding differnt elements to my keychain. I started with a rectangle, then added a .2 in hole, put my name on the top and added my vector image of the Seahawks logo. It is not shown here for the sake of viewing but I also changed the line thickness to .0001 for the laser to cut out.
|
|
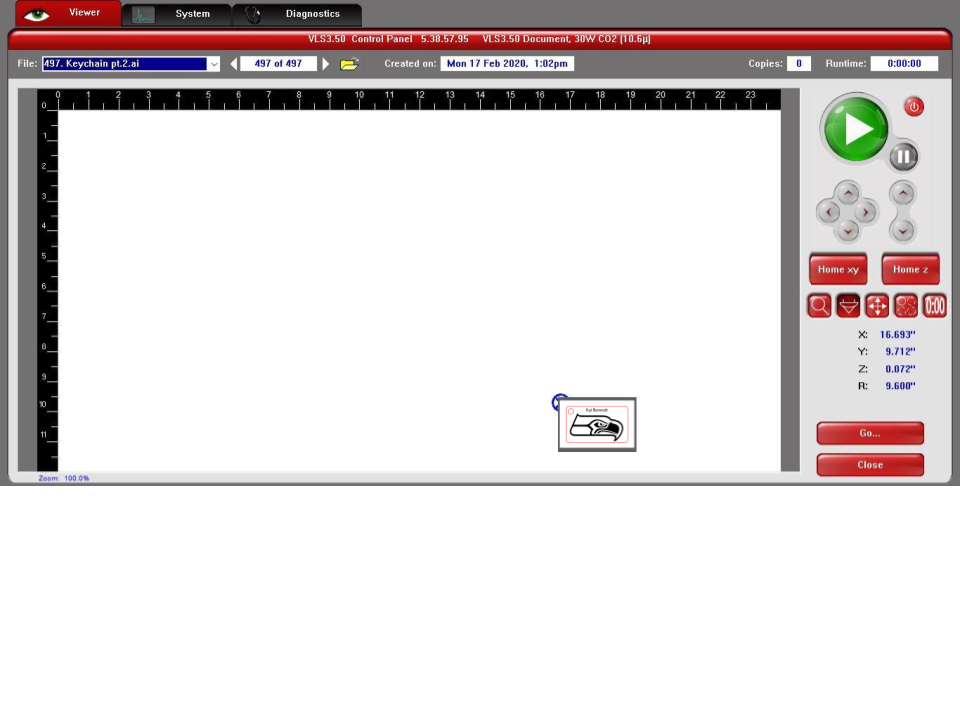
After making the file in illustrator I went to the laser. First I had to put in the settings we needed then select the material and fill in the thickness. Next I had to set up the laser to print on my material. Left is the set up screen where I locate my image. This tells the laser where to print. The buttons on the right are used to relocated the physical laser to be over the acrylic. After doing this I was ready to use the laser.
|
|
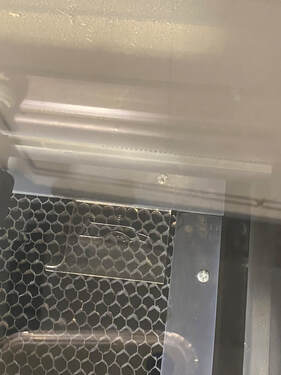
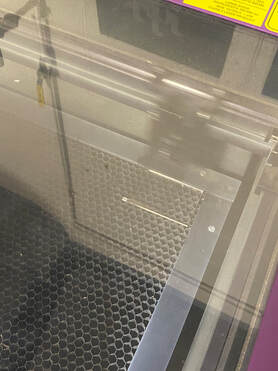
These images show my keychain in the laser being engraved and cut out.
|
|
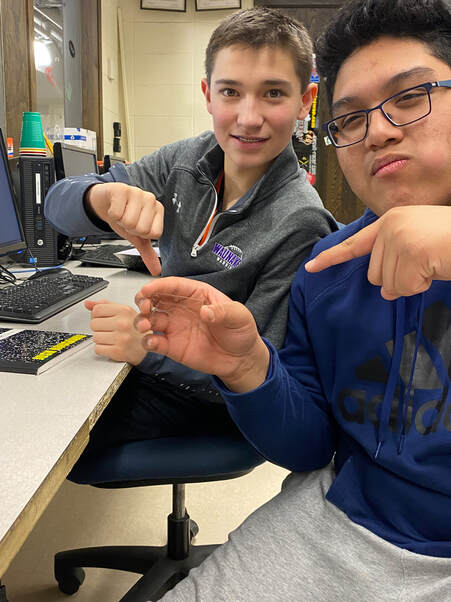
This is the finished keychain.
Vinyl Project
The Vinyl project we did was putting our names on our notebooks. Below is the process I went through to get the letters on my designer notebook.
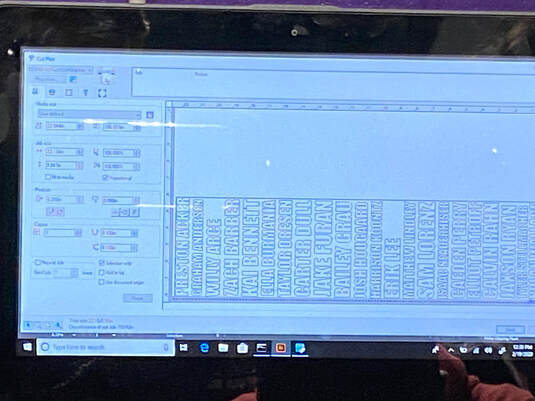
The first thing we needed to do was use the vinyl cutter to cut out the letters. Mrs. Proctor had a pre made Illustrator file that she used to cut everyone's names out in vinyl.
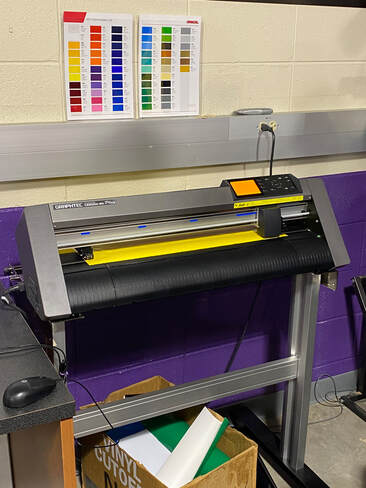
This is the vinyl cutter. To use we need vinyl in it, there were a variety of colors but for this project everyone used yellow.
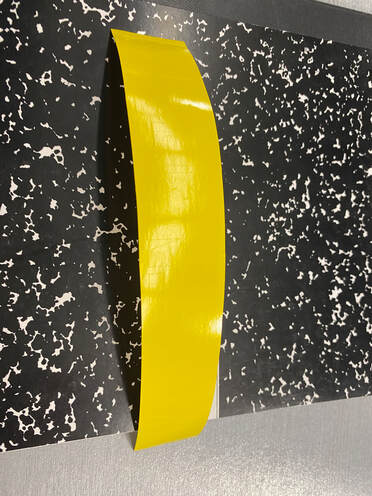
This is what the Vinyl Cutter does. It is hard to see in the image but my name is cut into this piece of vinyl.
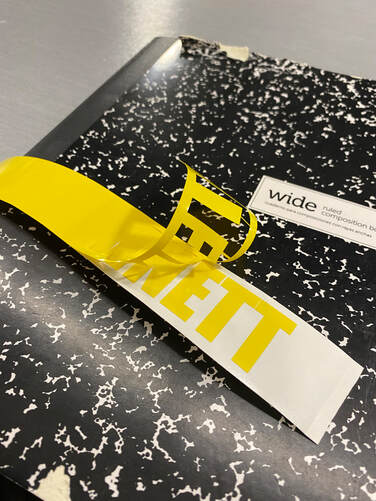
The next thing I had to do was use a dental tool to "weed" the material I dont want from the letters.
This is after I got all the unwanted material off.
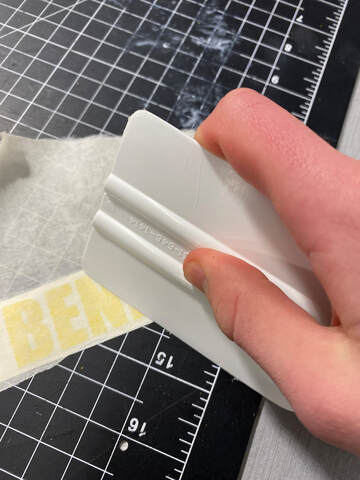
Next I had to get the letters from what they were on to my notebook. To do this I used transfer tape so all the letters stayed lined up. In this picture I am using a squeegee to get the tape stuck to the letters.
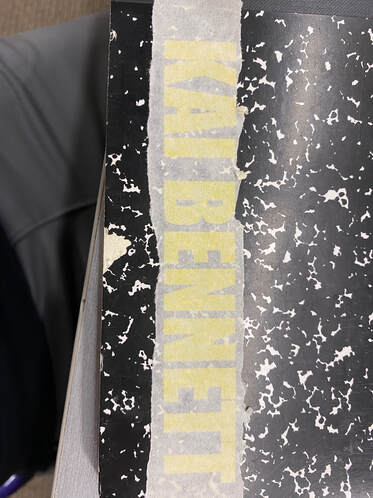
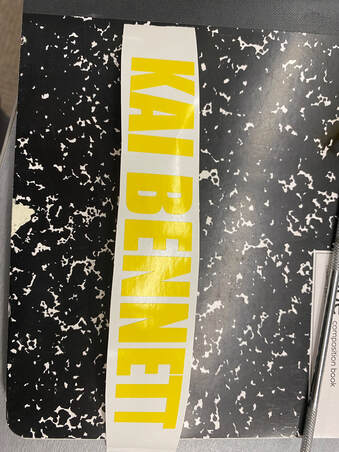
I then moved the letters to the notebook using the transfer tape and stuck it on.
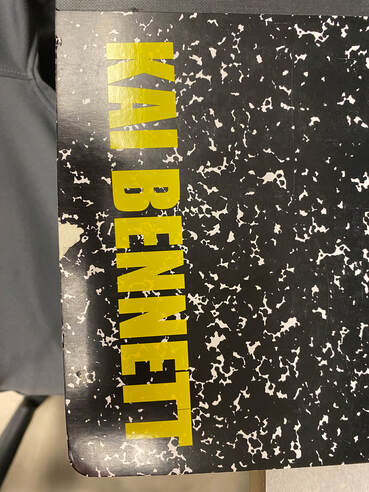
I finally peeled the tape off. This is my finished product with my name on the notebook.
What I learned...
Illustrator was a brand new software for me so I learned many things about the program. I learned the basics of how to make a file and design. This will be very helpful to have a good foundation as we go forward to the individual laser and vinyl projects that will both utilize illustrator. In this unit I also learned about how the laser reads certain colors in you file to do differnt tasks. Besides this I learned the difference between raster and vector images. Raster images have pixels but vector have paths. We had to use vector in the illustrator file for the laser. Overall I enjoyed learning this new software.
